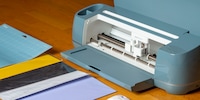
Guide
Maker 4: How to make your first project with the cutting plotter a success
by Stefanie Lechthaler

Forgot where you left off while reading? Create aesthetic bookmarks and say goodbye to dog-eared pages.
You guessed it, I’ve told myself I need to read more. Ten pages every day. But before I can start, I have to create the necessary tools for it – stylish bookmarks, so I know where I left off. Wondering if the crafting activity has anything to do with procrastination? No. Of course not. What made you think of that?
Okay, it might. A bit.
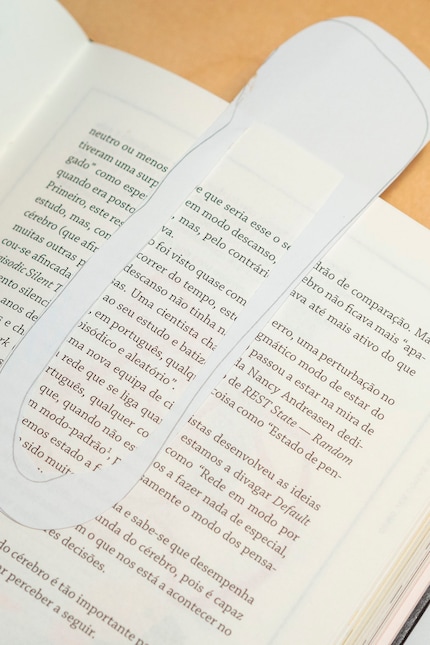
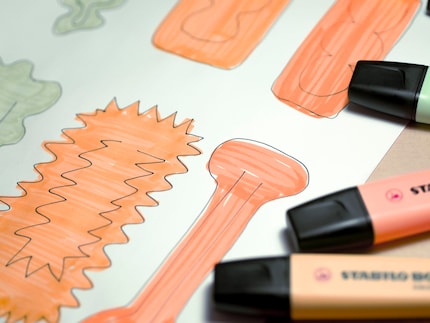
To get an idea of how big the bookmarks will be, I first cut out a few prototypes from a piece of paper. The perfect dimensions for the large one are 20 × 6 centimetres, and, for the smaller one 10 × 8 centimetres. Then I sketch out some designs I might like.
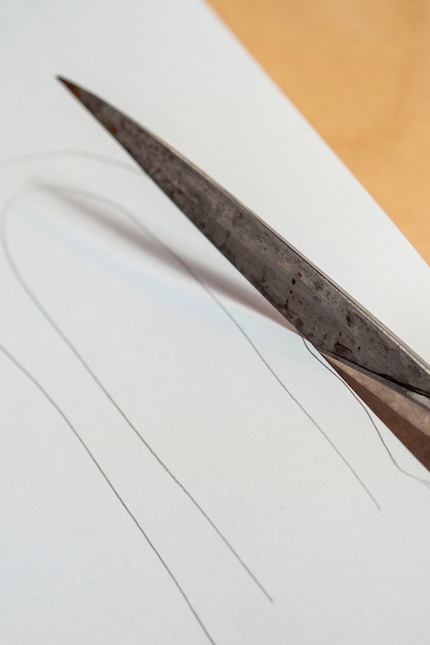
I go for the easy option and leave the cutting to the Cricut Maker 4. To do this, I create various designs in a graphics program which I then arrange in the program Cricut Design Space and prepare for cutting. The blade in the machine then follows the cutting lines of the template exactly and cuts out the motifs. Of course, you can also use scissors or a cutter instead of a cutting plotter.
For this simple type of illustration I like to use the Adobe drawing and graphics program «Illustrator». With just a few clicks of the mouse and the help of some filters, I can generate funky shapes from straight lines and quickly readjust until I’m happy with the result. If you can’t afford the program or don’t fancy working with it, free programs such as Canva have their limits, but are also good for simple activities like this.
It’s particularly important that the outline width of the outer lines is as narrow as possible (0.5 pt), while the inner line – the one for the flap – can be slightly wider (4 pt).
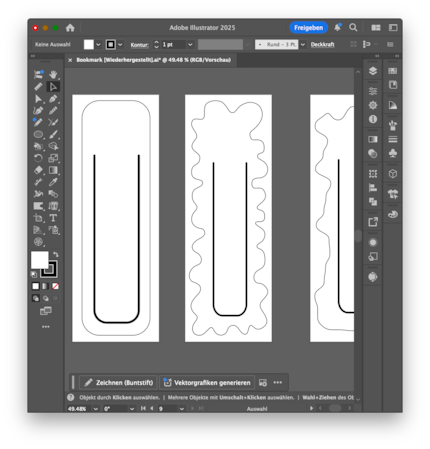
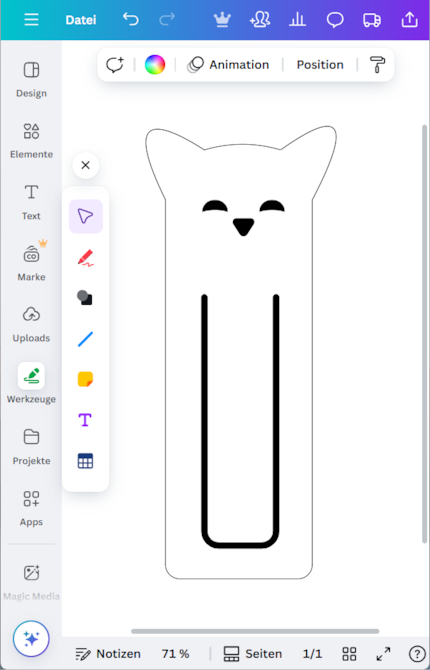
In Cricut Design Space, the program for the cutting plotter, I can place the bookmarks exactly where they’ll ultimately be cut out of the cardboard. To do this, I load the exported designs into the program as a PNG file. I could also import the drawings directly as a vector file, but for this project the resolution’s perfectly fine and Canva’s free version doesn’t support this function anyway.
All that’s left for me to do in Design Space is adjust the size of the illustration, enter the plot position of the cardboard and select the relevant material for the cutting plotter. And because I use the cardboard from Cricut that’s included in the package, I can simply go ahead and use the standard blade in the machine.
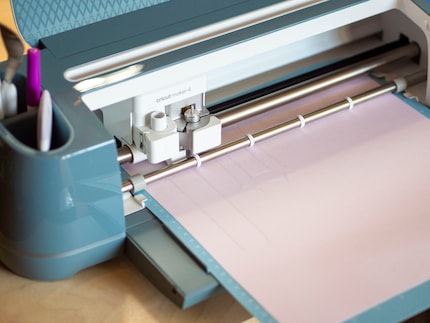
As soon as the Cricut Maker 4 has established the Bluetooth connection to my laptop and I’ve fixed the cardboard on the adhesive mat, the plotter can measure the size of the material and start plotting.
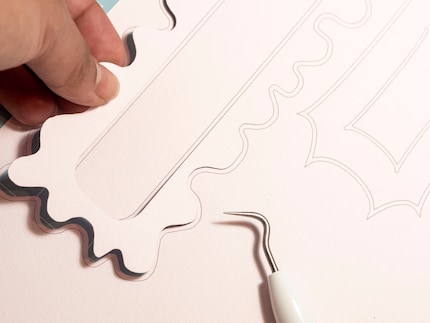
Whether it’s a cute kitten peaking out of your book or aesthetic silhouettes – your choices are endless. As long as you include a flap, the bookmark will hold between the pages. You can also experiment with a range of materials.
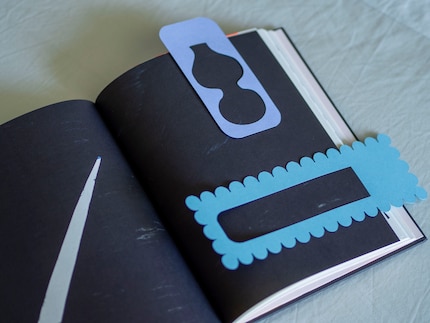
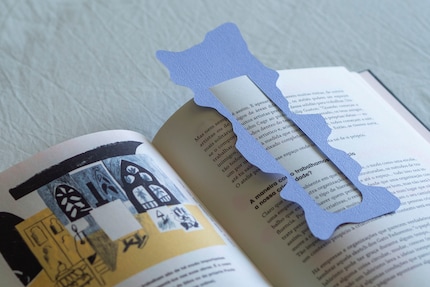
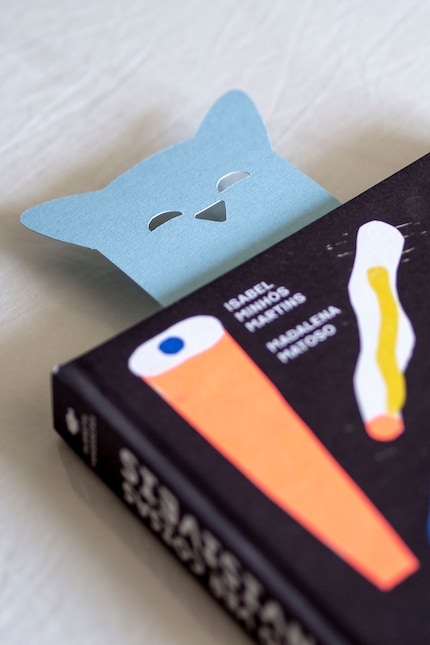
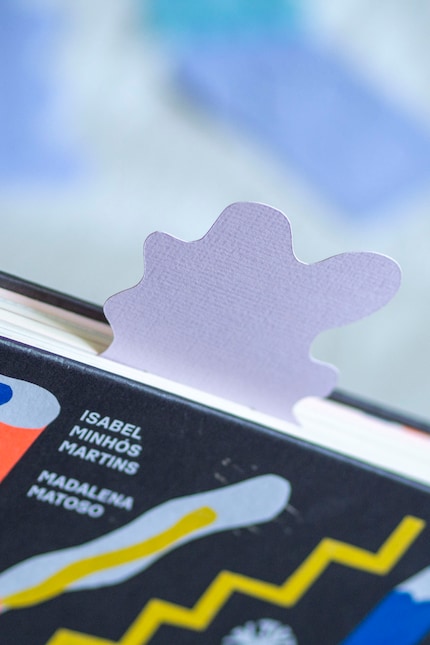
Right, I’m done procrastinating. Now I can «finally» start reading.
Painting the walls just before handing over the flat? Making your own kimchi? Soldering a broken raclette oven? There's nothing you can't do yourself. Well, perhaps sometimes, but I'll definitely give it a try.
Practical solutions for everyday problems with technology, household hacks and much more.
Show all